
Translate:

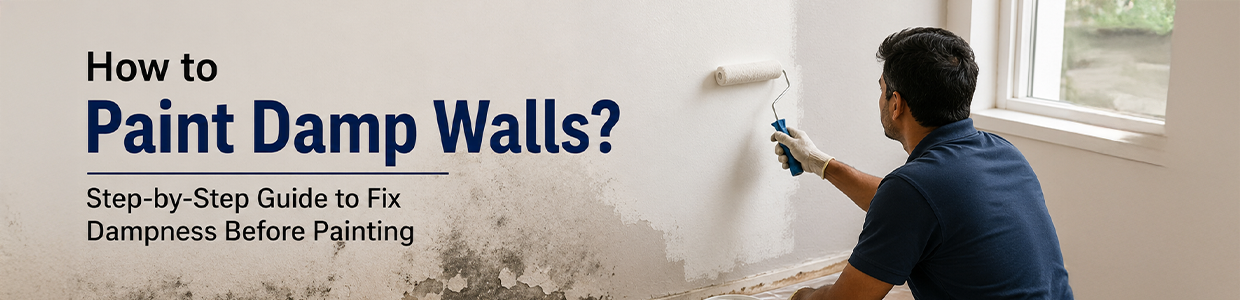
How to Paint Damp Walls? Step-by-Step Guide to Fixing Dampness Before Painting
Having damp, scratched walls and stains can make your home look a bit old, right? But simply applying a fresh coat of paint over the damp wall will not solve the problem. Especially if your entire home wall gets moisture frequently, the paint can bubble, peel or develop stains again.
There is a sorted approach to identify the cause of dampness, fix the source, prepare the wall and then apply waterproofing and paint. If you are a beginner trying to make your home look fresh and new, then you have found the right place. We will explain every step in a simpler way that allows you to successfully paint the damp walls. Let?s get into it!
Can You Paint Directly on a Damp Wall?
No, you should not paint directly over the damp wall.
Painting over moisture may temporarily hide stains, but it does not stop water from entering the wall. Over time, you may notice:
Paint peeling or flaking
Bubbling and blistering
Dark damp patches
White salt deposits or efflorescence
Mould or musty odour
Cracks and damaged plaster
Therefore, the first step is always to fix the moisture problem before painting.
How to Treat Damp Walls Before Painting: 7 Simple Steps
Follow these steps to properly prepare a damp wall for painting.
Step 1: Find Out What Is Causing the Dampness
Before buying paint or waterproofing products, find the source of moisture.
Check whether the damp patch is caused by:
Leaking water or plumbing pipes
Bathroom or kitchen seepage
Rainwater entering through an exterior wall
Terrace or roof leakage
Cracks in the wall
Water entering around windows
Rising dampness from the ground
Condensation and poor ventilation
The location of the damp patch can provide useful clues. For example, dampness next to a bathroom may indicate plumbing or waterproofing issues, while patches that appear after rainfall may point towards exterior seepage.
Important: If there is an active water leak, repair it first. Applying damp proof paint over an ongoing leak will not provide a permanent solution.
Step 2: Repair the Leak or Seepage
Once you identify the cause, fix it before touching the paintwork.
Dampness Problem | Possible Solution |
Leaking pipe | Repair or replace the pipe |
Wall cracks | Fill and seal suitable cracks |
Bathroom seepage | Repair the affected waterproofing |
Terrace leakage | Waterproof the terrace/roof |
Exterior wall seepage | Repair cracks and apply exterior waterproofing |
Window gaps | Seal gaps around the frame |
Condensation | Improve ventilation and airflow |
If the source cannot be identified easily or the dampness keeps returning, getting the wall inspected by a waterproofing professional is a better option than repeatedly repainting it.
Step 3: Remove the Damaged Paint
After fixing the source of moisture, remove all loose and damaged paint.
Use a scraper to remove:
Peeling paint
Blistered paint
Loose plaster
Flaking layers
Powdery surface deposits
Do not apply fresh paint over a loose or damaged surface. The new coating may simply come off with the old layer.
For severe damage, the affected plaster may need to be removed and repaired before moving to the next step.
Step 4: Let the Wall Dry Completely
This step is often skipped because homeowners want to finish the painting quickly.
However, moisture trapped inside the wall can cause the new paint to fail. Give the wall enough time to dry after the leakage has been repaired.
To improve drying:
Keep windows and doors open where possible.
Improve airflow in the room.
Use a fan to circulate air.
Avoid painting while the wall is visibly wet.
Check for recurring damp patches before continuing.
The required drying time depends on the amount of moisture and the condition of the wall, so follow the instructions of the waterproofing and repair products being used.
Step 5: Repair Cracks and Uneven Areas
Once the wall is dry, inspect it carefully for cracks, holes and damaged plaster.
Small surface cracks can usually be repaired with an appropriate crack-filling material. Larger or recurring cracks should be assessed properly because they may indicate an underlying issue.
After repairing the damaged areas, allow the repair material to dry and smooth the surface before applying the waterproofing treatment.
Step 6: Apply the Appropriate Waterproofing Treatment
Now comes the most important part of your damp wall solution ? protecting the wall against future moisture.
The right product depends on where the moisture is coming from.
Interior surfaces: You can consider a suitable Damp Proof paint for internal walls or an interior waterproofing system designed for moisture-prone areas.
Exterior walls: Exposed to rain, a suitable damp proof paint for exterior walls or an exterior waterproofing coating can provide additional protection.
Step 7: Apply Primer and Paint
Once the waterproofing treatment has dried and cured according to the product instructions, prepare the wall for painting.
The basic sequence is:
Waterproofing
Curing/Drying
Surface Preparation
Primer
Paint
Apply a suitable primer first and allow it to dry. Then apply the recommended coats of interior or exterior paint.
If you're searching for water leak paint, remember that decorative paint should not be treated as a replacement for repairing an active leak. Paint provides the final finish and can offer additional surface protection, but the moisture source must be addressed first.
How to Treat Damp Walls Internally?
If you're specifically looking for how to treat damp walls internally, start by determining whether the moisture is coming from inside or outside the building.
For an internal damp wall:
Identify the source of moisture.
Repair any plumbing or leakage issues.
Remove peeling paint and damaged plaster.
Allow the wall to dry.
Repair cracks and surface damage.
Apply an appropriate interior waterproofing treatment.
Apply primer.
Finish with suitable interior paint.
If the dampness is actually caused by rainwater entering from the exterior, treating only the inside may provide temporary relief. In such cases, the exterior wall should also be inspected and waterproofed.
What Is the Best Wall Seepage Solution?
If the cause of damp wall is because of seepage, then there is no particular solution. Since it might occur due to several reasons. A simple way to approach it is-
Issue | Solution |
Leakage | Repair the source |
Cracks | Seal and repair |
Rainwater seepage | Exterior waterproofing |
Terrace leakage | Roof/terrace waterproofing |
Surface dampness | Appropriate waterproofing treatment + paint |
If you are planning to repair the damp walls yourself, then you must buy the right waterproofing products, crack fillers, scrapers, primers, and painting tools together that can make your work much easier.
You can explore a range of damp proof paint and waterproofing options available on Moglix. This platform gives you a variety of trusted products known for durable results.
Common Mistakes to Avoid When Painting Damp Walls
There are several mistakes that people make while painting damp walls.
Paint Over Active Dampness
Do not paint over active dampness, as it only hides the problem instead of solving it.
Ignoring the Source
You usually ignore the source, which means repeatedly treating the visible patch will not stop recurring
Skipping Surface Preparation
Loose paint and damaged plaster can cause the new coating to fail.
Painting before the wall dries
If you do this, it traps moisture that leads to bubbling and peeling
Using the Wrong Waterproofing Product
Interior and exterior surfaces may require different solutions.
Ignoring Exterior Walls
Rainwater can enter from outside and appear as dampness indoors.
Multiple Coats
Applying too many coats too quickly can create uneven textures. So it is recommended to follow the recommended drying time between coats.
How to Prevent Dampness After Painting?
If your wall has been repaired, you can make it durable by maintaining it properly.
Before and during the monsoon, make sure to inspect exterior walls, terraces, balconies, and drainage points.
Also check for cracks, damaged coatings and areas where water tends to collect.
Inside the home, keep bathrooms and kitchens properly ventilated.
Check your home plumbing periodically and address small leaks before it turns into major seepage problems.
If you notice a new damp patch, don?t wait until the paint starts peeling.
Checking the source early can reduce repair work later.
When Should You Call a Professional?
If you are about to do DIY treatment for your home's damp wall, it can only work for minor problems, but in case of major issues, you must get professional assistance, especially if-
Dampness covers a large section of the wall.
The problem keeps returning after waterproofing.
Plaster is extensively damaged.
The source of moisture cannot be identified.
You suspect concealed pipe leakage.
Dampness is coming from the terrace or roof.
Large or recurring cracks are visible.
There is extensive mould growth.
Final Words
Do you want to paint the damp wall? However, painting the damp wall is not an easy task, you need to fix the dampness first, then go for the waterproof paint and apply it over the wall. With this, your wall paint will last longer without any uneven texture. Whether you are dealing with wall leakage, seepage or recurring damp patches, it is important to choose the right damp proof paint and waterproofing products.
Looking for the top-rated Waterproofing?
Browse our complete collection and find the best product today.



Top Sellers
New Arrivals