

Translate:

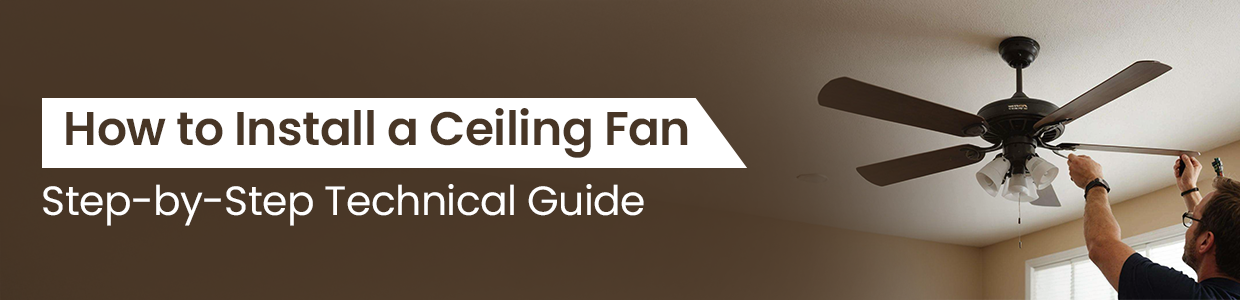
How to Install a Ceiling Fan: Step-by-Step Technical Guide
Installing a ceiling fan requires proper mounting, correct wiring, and accurate blade alignment to ensure safe and efficient operation. This guide explains how to install a ceiling fan, how to fit a ceiling fan, how to replace a ceiling fan, and how to balance a ceiling fan in a clear, technical, and informative way.
Tools and Materials Required
Ceiling fan (with mounting hardware)
Fan-rated electrical box
Screwdrivers
Voltage tester
Wire stripper
Wire connectors (wire nuts)
Electrical tape
Adjustable wrench
Ladder
Step 1: Turn Off Electrical Power
Switch off the circuit breaker controlling the ceiling fixture. Confirm power is off using a voltage tester at the ceiling wires. This step is mandatory for both new installations and when learning how to replace a ceiling fan.
Step 2: Remove Existing Fixture (If Applicable)
If replacing an old fan or light fixture:
Remove fan blades and light kit
Lower the motor housing
Disconnect wiring (note wire colors)
Remove the mounting bracket
Inspect the ceiling box
Only proceed if the ceiling box is fan-rated and securely fastened to a ceiling joist.
Step 3: Install a Fan-Rated Electrical Box
Ceiling fans require a UL-listed fan-rated electrical box capable of supporting dynamic loads.
Secure the box directly to a ceiling joist or support brace
Ensure no movement or looseness
This step is critical when learning how to fit a ceiling fan correctly.
Step 4: Install the Mounting Bracket
Attach the ceiling fan mounting bracket to the electrical box using manufacturer-supplied screws. Tighten firmly to prevent vibration or wobble during operation.
Step 5: Assemble the Fan Motor and Downrod
Depending on the model:
Attach the downrod to the motor housing
Feed wiring through the downrod
Secure the downrod with locking pins or screws
For low ceilings, a flush-mount configuration may be required.
Step 6: Mount the Fan to the Bracket
Lift the motor assembly and seat it onto the mounting bracket. Many brackets include a hook to temporarily hold the fan while wiring is completed.
Step 7: Connect the Electrical Wiring
Standard wiring configuration:
Black (fan motor)-Black (ceiling)
Blue (light kit)-Black or red (if separate switch)
White (neutral)-White (ceiling)
Green/Bare copper (ground)-Ground wire or box
Secure all connections with wire nuts and electrical tape. Tuck wires neatly into the electrical box.
This is a key step in how to install ceiling fan safely.
Step 8: Attach Fan Blades
Install blade brackets onto the motor
Attach fan blades to brackets
Tighten screws evenly to avoid imbalance
Uneven blade installation is a common cause of wobbling.
Step 9: Install Light Kit (If Included)
-Connect light kit wiring
Secure the light housing
Install bulbs and glass cover
Step 10: Restore Power and Test
Turn the breaker back on and test:
Fan speed settings
Direction switch
Light operation
Remote or wall control
How to Balance a Ceiling Fan
Improper balance can cause noise and vibration.
Steps to balance a ceiling fan:
Confirm all blade screws are tight
Measure blade height from ceiling-adjust if uneven
Use a blade balancing kit
Attach balancing weight to the top center of the blade causing vibration
Test and reposition as needed
Balancing ensures smooth operation and extends motor life.
How to Replace a Ceiling Fan
To replace a ceiling fan:
Turn off power
Remove old fan and mounting bracket
Inspect or upgrade to fan-rated box
Install new mounting bracket
Follow standard installation and wiring steps
The replacement process follows the same core steps as how to install a ceiling fan, with added emphasis on electrical box inspection.
Frequently Asked Questions (FAQ)
Q1: Can I install a ceiling fan where a light fixture was?
Yes, but only if the electrical box is fan-rated. Standard light fixture boxes are not designed to support ceiling fans.
Q2: How long does it take to install a ceiling fan?
Typically 1-2 hours for a new installation or replacement, depending on wiring and ceiling height.
Q3: Why does my ceiling fan wobble after installation?
Common causes include uneven blade screws, warped blades, or incorrect mounting. Use a balancing kit to correct this.
Q4: Do I need an electrician to install a ceiling fan?
If wiring is already present and you are familiar with electrical work, it can be a DIY task. Hire a licensed electrician if new wiring or box installation is required.
Q5: How often should I balance a ceiling fan?
Only when wobbling occurs, usually after blade removal, cleaning, or long-term use.
Conclusion
Understanding how to install a ceiling fan, how to fit a ceiling fan, how to replace a ceiling fan, and how to balance a ceiling fan ensures safe operation and long-term performance. Proper mounting, correct wiring, and accurate blade alignment are essential for efficiency and durability.

Top Sellers
New Arrivals










 +91 9999049135

